
Tuesday, December 28, 2010
HowTo Install Apache, PHP, MySQL, and PHPMyAdmin on Ubuntu
Do you like this story?
After a while i haven’t write on my blog. Now i’m ready to start writing again. Probably you notice that i changed my theme and i am all charged up with lot more suffs. In this post i am writing how to make your ubuntu ready with Apache,PHP,MySql and PHPMyAdmin.
If you're developing websites, it's nice to be able to test your code in the privacy of your own computer rather that out in the public Internet. In order to do that, you'll need to install a web server on your development computer. LAMP (Linux, Apache, MySQL, php) is one of the most common web hosting platforms, so it's a perfect environment for you to build and test your website code. If you carefully follow these step by step instructions, you'll have your own LAMP setup running in no time.
Lets start:
(Your ubuntu system must be connected to the Internet. All the highlighted text are to be executed in the shell)
1.Open your terminal and login as root with this command
su
2.Update your repositories list:
sudo apt-get update
3. Install Apache:
sudo apt-get install apache2 apache2.2-common apache2-doc apache2-mpm-prefork apache2-utils

After this process is completed you would like to test weather your apache is installed correctly or not. For this you open your browser
and go to the address http://localhost. If you get following screenshot then you have
successfully installed your apache server on ubuntu machine.

Now this shows that you have a web server installed on your local machine.The work directory resides at /var/www in your machine. you can start, stop and restart your Apache web server by following method.
sudo /etc/init.d/apache2 restart
sudo apt-get install
php5 libapache2-mod-php5 php5-common php5-gd php5-mysql php5-imap php5-cli php5-cgi php-pear php-auth
php5 libapache2-mod-php5 php5-common php5-gd php5-mysql php5-imap php5-cli php5-cgi php-pear php-auth
5.Install MySQL:
sudo apt-get install mysql-server mysql-client
Here you will be asked to enter root password for MySql
6. Install PhpMyAdmin:
sudo apt-get install phpmyadmin
here you will be asked some question to configure the phpmyadmin, just go through the wizard after it finish installed.
7. Now your server is ready. Before you test please make sure to restart the server:
/etc/init.d/mysql restart
/etc/init.d/apache2 restart
open document root in /var/www , make a file called it with info.php
sudo gedit /var/www info.php
A text editor will open then fill the following script in the that filed called info.php
phpinfo();
?>;
then save the file
9. Test the server with the browser and type address http://[server-ip]/info.php OR http://localhost/info.php
If you have the same screenshot as follow than you have the web server and php on your machine:
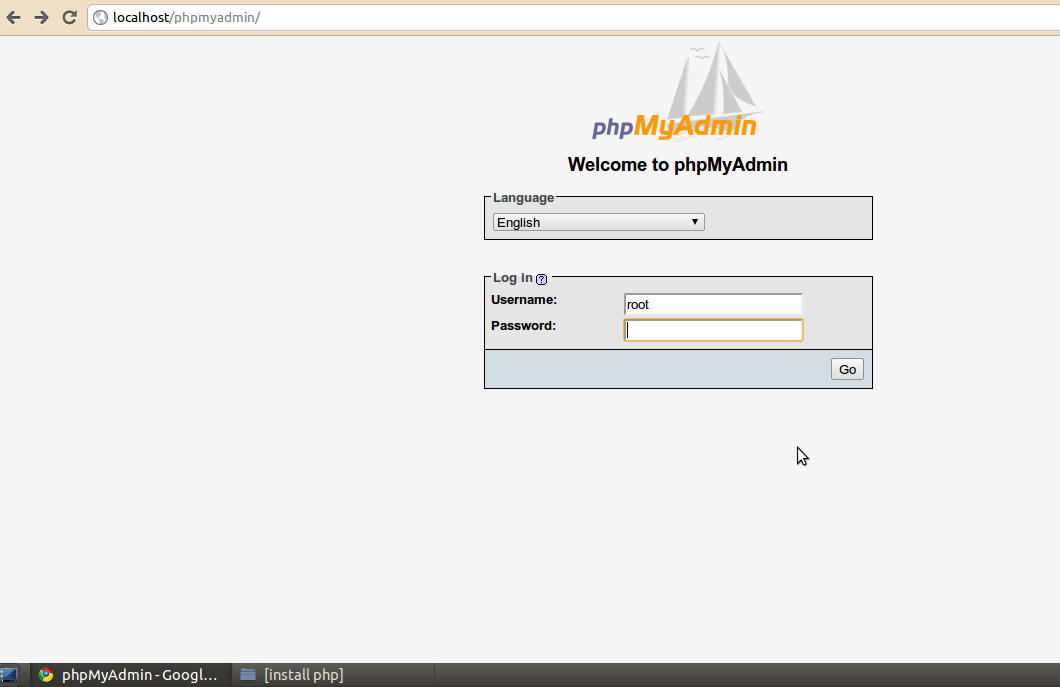
 To test phpmyadmin type address http://[server-ip]/phpmyadmin.php OR http://localhost/phpmyadmin.php
If you have the same screenshot as follow than you have the web server,php,phpmyadmin and mysql installed on your machine:
 That’s it for now. Thank you for visiting my blog. I hope you enjoy. Have a nice day…
Mohit Baskota
That’s it for now. Thank you for visiting my blog. I hope you enjoy. Have a nice day…
Mohit Baskota


This post was written by: MOHIT BASKOTA
Mohit baskota is a computer Engineering student at NIT,Jaipur.A tech enthusiast and a FOSS advocate with interest in photography.Follow him on Twitter
Subscribe to:
Post Comments (Atom)
You may also like


0 Responses to “HowTo Install Apache, PHP, MySQL, and PHPMyAdmin on Ubuntu”
Post a Comment
How do u find the article? post a comment here